Skip to content
  • YouTube
  • Facebook
  • Instagram
  • X
  • Linkedin
  • Flickr
  • Threads
  • TikTok

Markus Hofstätter's blog

  • Blog
  • Contact
  • Waterhouse Stops Database
  • Newsletter
  • About
  • Website
  • Patreon
  • My Life
  • ©
  • Toggle search form

Darkroom ventilation and humidity control

Posted on January 5, 2024July 11, 2024 By Markus

This topic sounds very simple but is probably more complicated than you thought. In this case I will explain the solution for my darkroom, but it could also be a solution for other cases.
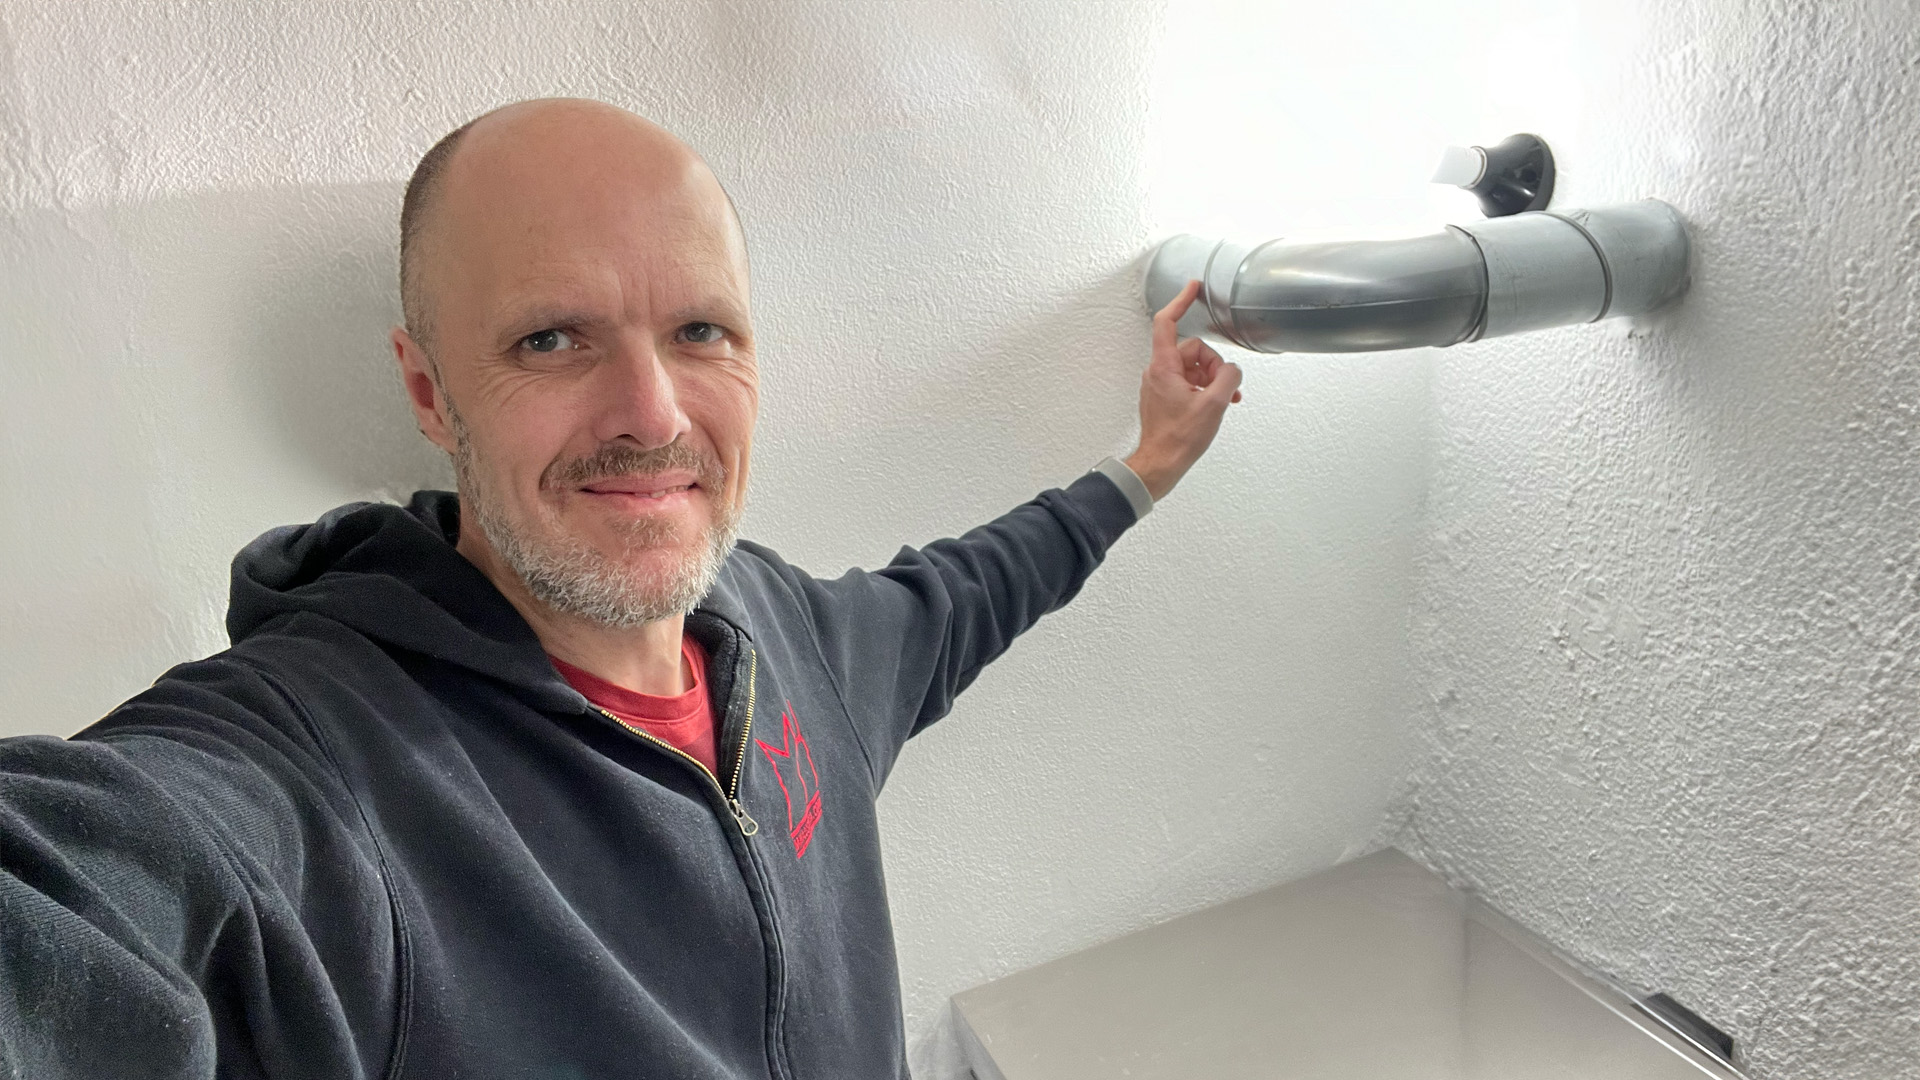
In this video I show you the construction (with a nice fail) process and the whole ventilation system including how I reduce humid air in my darkroom. Underneath I share some additional information to the video.

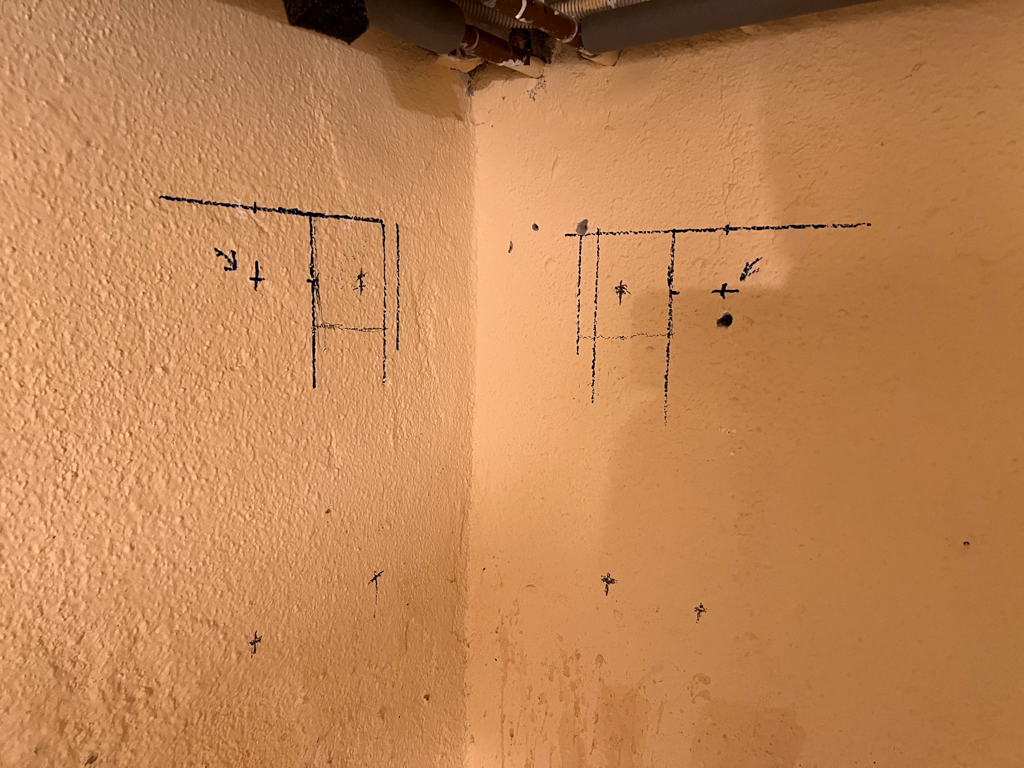
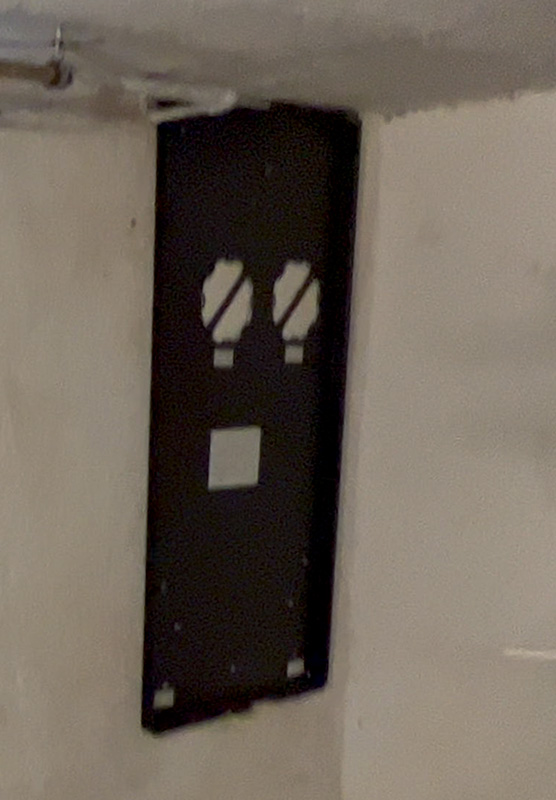
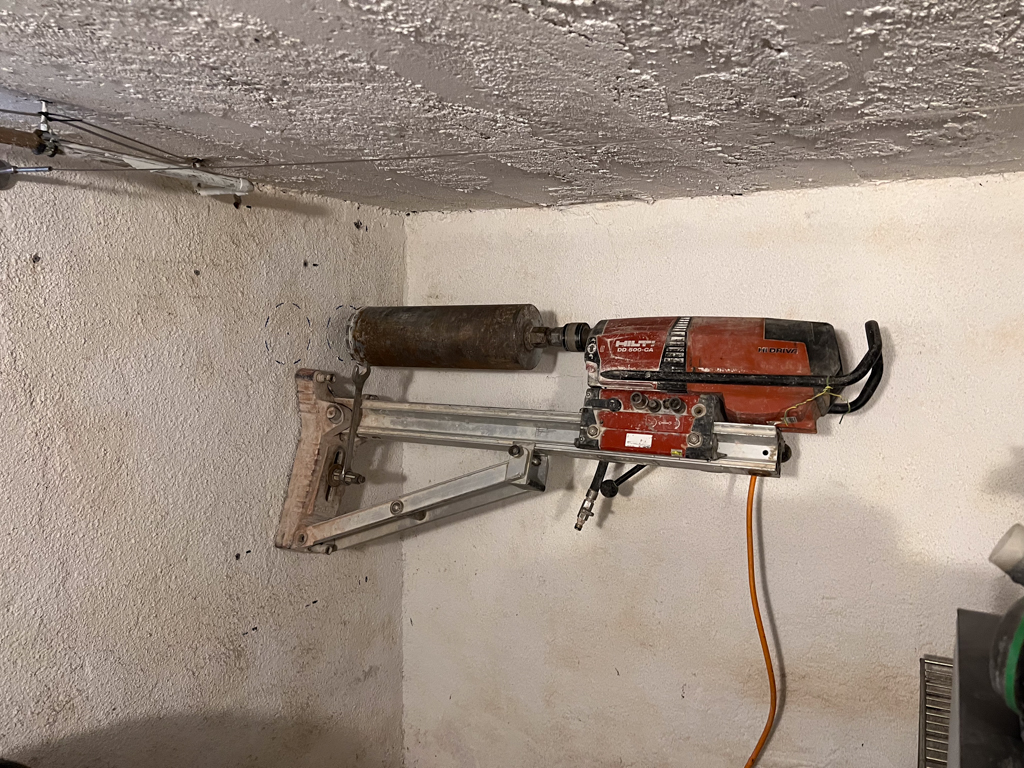
As said in the video, if you work with chemicals like ether and alcohol, a mask alone is sometimes not enough. Because when there ar enough fumes in the room, your skin will absorb them and that way it could damage your liver. Thats the reason I always ventilated my pouring room in-between bigger wet plate sessions. When you ventilate typically with an open window, you will cool down or heat up the room (depending on the season), beside that you get for sure some dust into your rooms. Luckily my friend Wolfgang has a company ( https://www.leit-wolf.at ) who is specialised in how ventilations system and opened my eyes. Thanks a lot for that! Let’s start with the preparation. To make this ventilation system work, I needed some holes and for that I commissioned a company to do some core drilling.

I marked the places for the ventilation pipes, so the company knows where to do the core drilling, so there are no electric wires in the way (sarcasm – see why in the video)
to make the drilling as precise as possible for the ventilation system, I ordered the “shell installation kit WS 75 RSAP” https://www.maico-ventilatoren.com/en/products/details/p/shell-installation-kits-g61068/ws-75-rsap-p124746 this makes masking the holes very easy
this monster of a core drilling machine made it possible to get fresh air into my darkroom.
Because every hole needed to be drilled wet, they brought also vacuum machine that sucks all the dirt and water in. In any way you will get lots of dirt into your room, but they cleaned up very well.
after all holes were drilled, I mounted the shell installation kit and glued the ventilation pipes into the wall. For sure not my most beautiful job, but at the end everything worked as expected.
The next step was to mount the Ventilation unit on the wall. I chose the “Ventilation unit Maico WS 75 Powerbox H” because it has a heat recovery that reduces the cooldown of the rooms. There are also dust filters build in. Beside that it only consumes between 5,2 and 11,5 Watt. You can find lots of information about how to set it up (video and documentation) here: https://www.maico-ventilatoren.com/en/products/details/p/ventilation-units-g61071/ws-75-powerbox-h-p124754 – just click on Downloads/Videos. You can also switch the website to different languages.
Here you can see the nearly finished ventilation system. The rectangular part near the floor is a silencer that makes the very silent ventilation system even more quiet.
one of the last steps was the initial configuration of the ventilation system. Like moste things today, thes is pretty high tech as well and you only can set it up with a computer.
The system comes with a control panel (https://www.maico-ventilatoren.com/en/products/details/p/control-panel-g61464/rls-g1-ws-p125256) that shows the status and also lets you control the unit. I bought a voc sensor for my unit ( https://www.maico-ventilatoren.com/en/products/details/p/sensors-g61463/ws-75-voc-p125253 ) This measures the volatile organic compounds in the air. It’s measured with ppm (parts per million). The higher the ppm, the more the air will circulate through the rooms. That means, if I pour some plates and the sensor “smells” the ether, the ventilation system turns up the power.
outside I mounted the Combi-wall connections Duo KWS E (https://www.maico-ventilatoren.com/en/products/p/combination-wall-connections-g66762/duo-kws-e-p119350) This avoids that animals would use my ventilation system for some sleepy time. But it also avoids an “air short”.

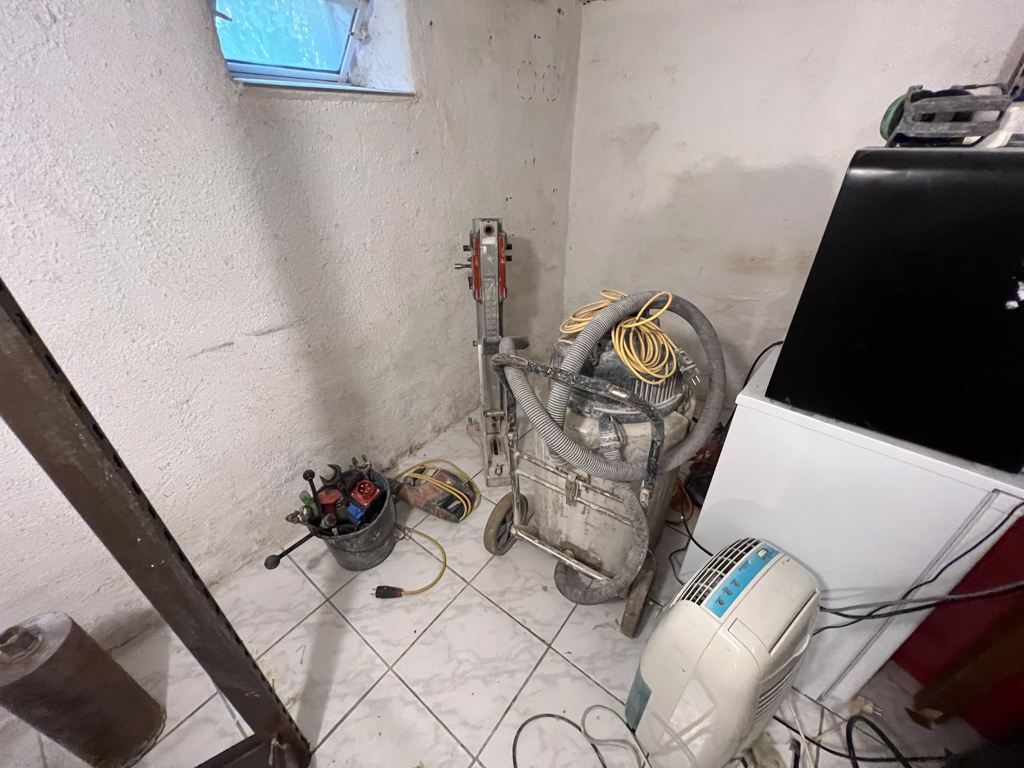
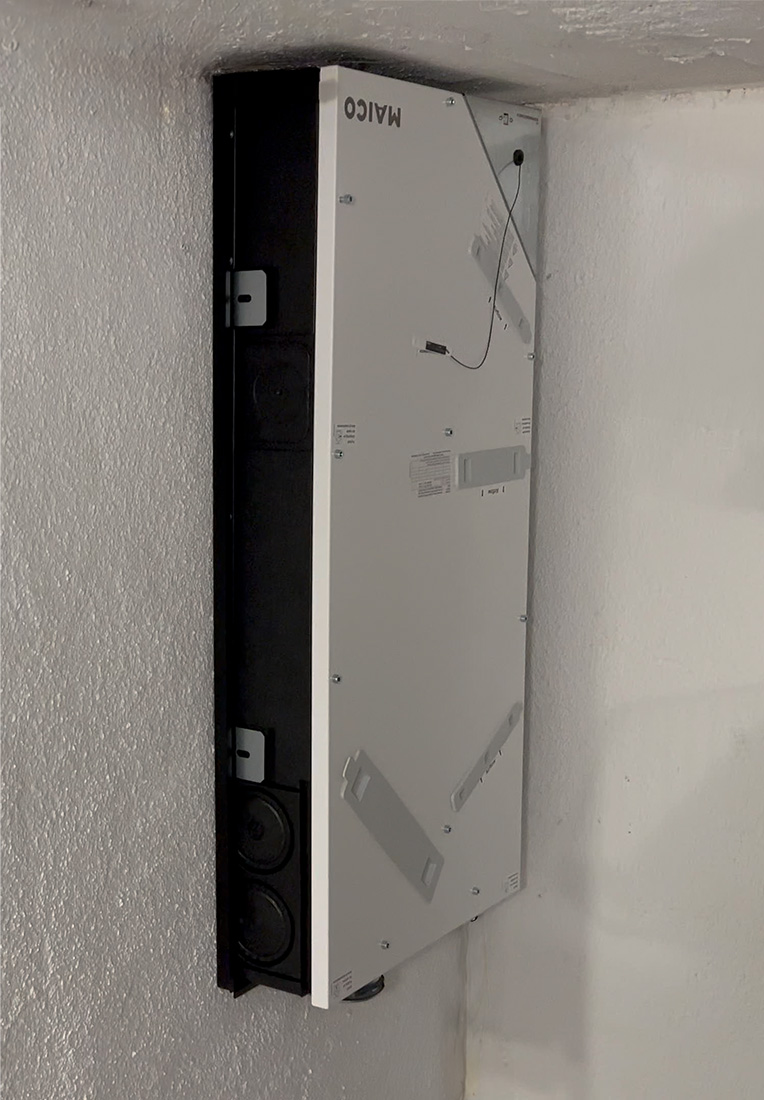
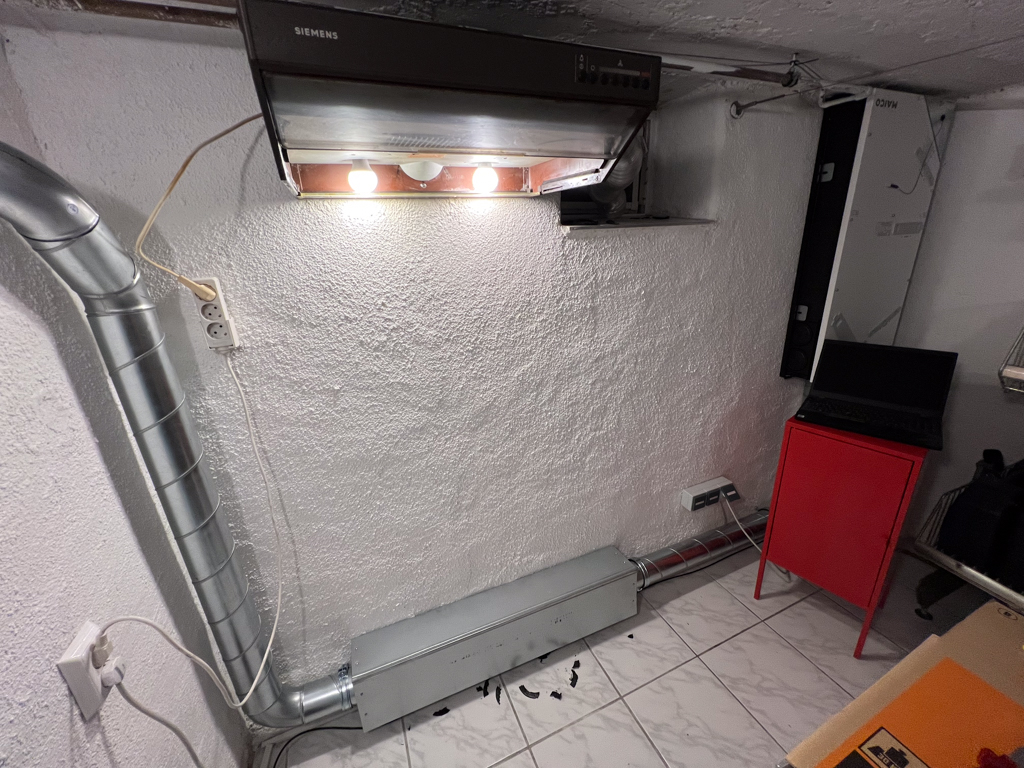
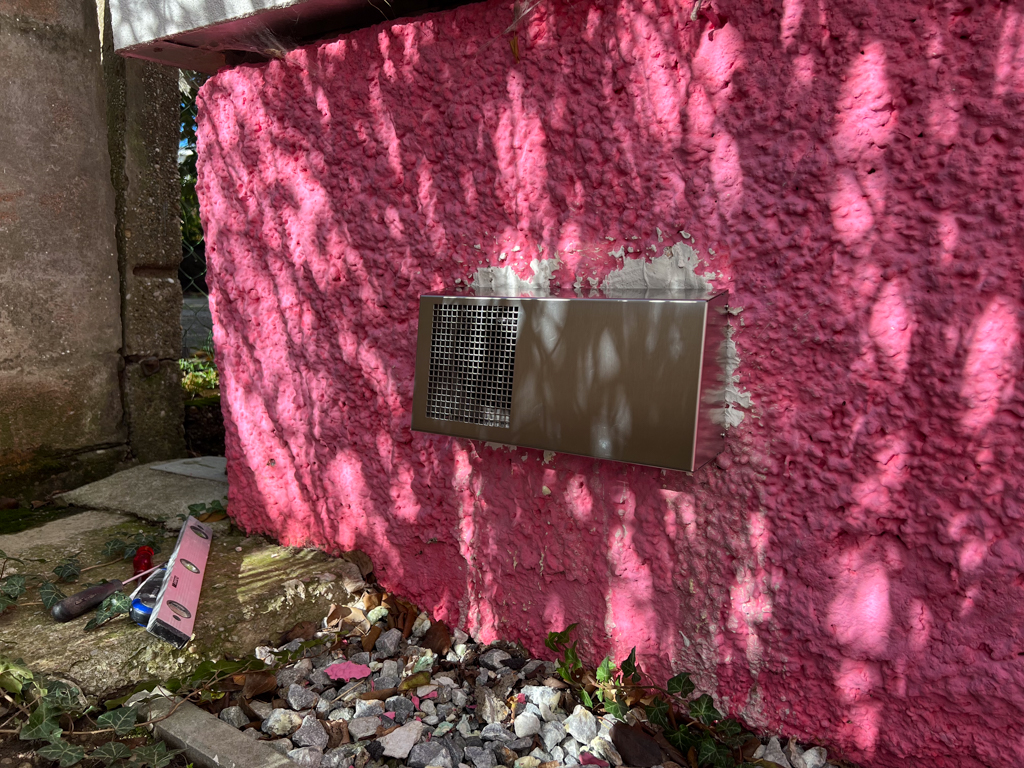
The finished ventilation system blows fresh air into my studio and sucks it through my darkroom and pouring room back outside. With that I have always fresh air in my workplace. My studio is a pretty new building, but the other parts are old and are more humid. While ventilating in the winter mostly “dry” air comes into the rooms and there is mostly no need for the dehumidifier to start. Only when the relative humidity is about 60% I start an automation that checks how much my photovoltaic power plant is genarating and if the sound generates enough energy, I start to dehumidify my darkroom

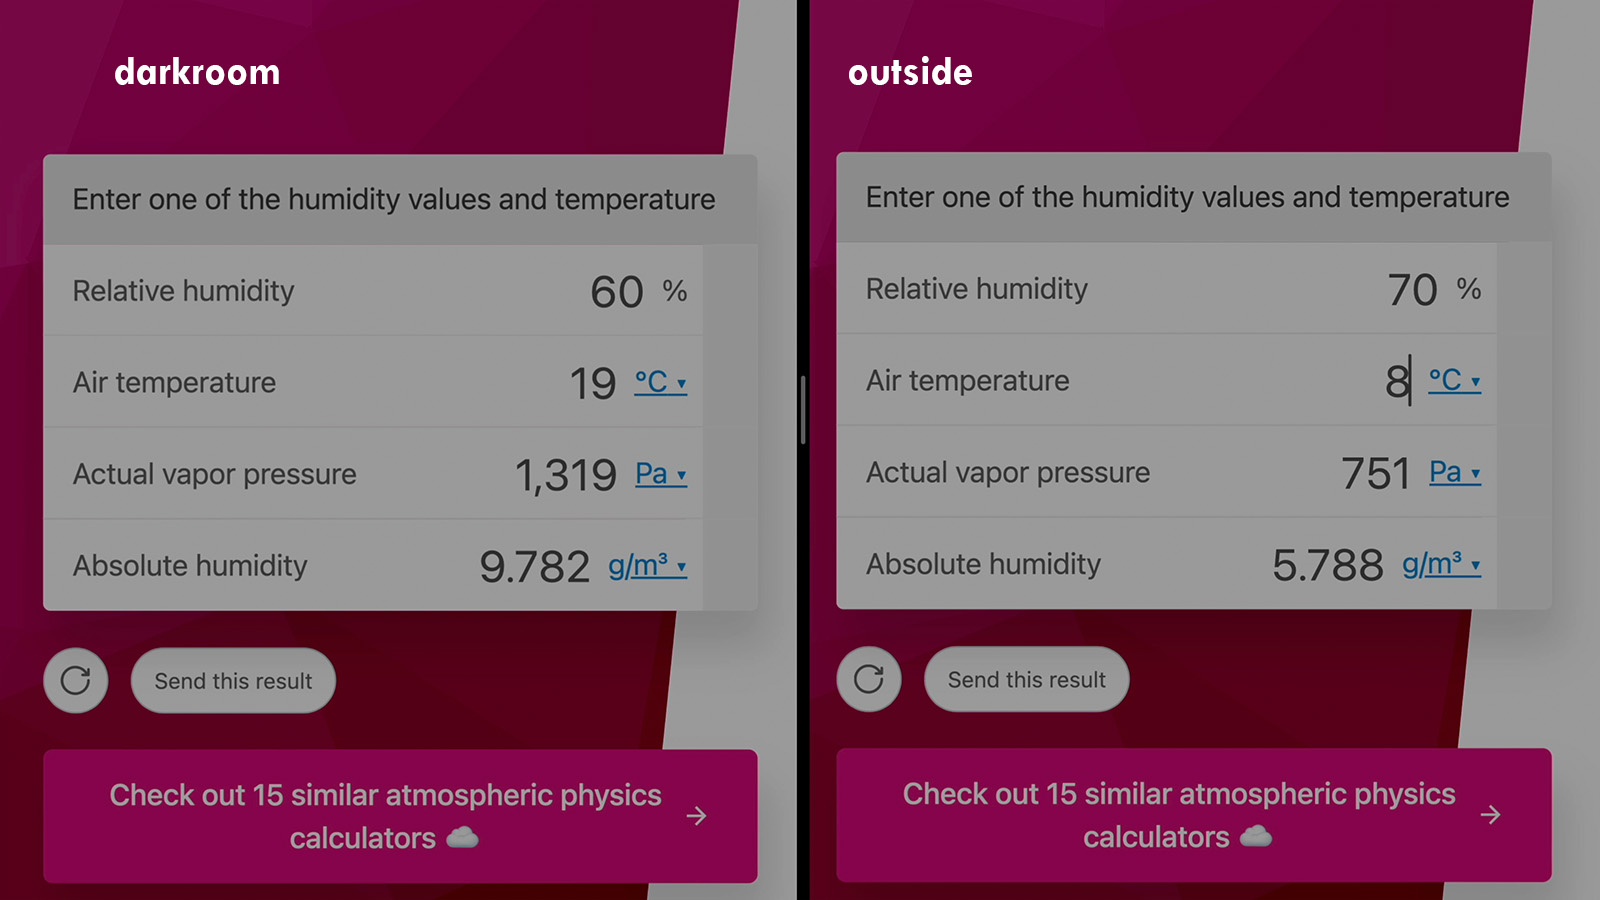
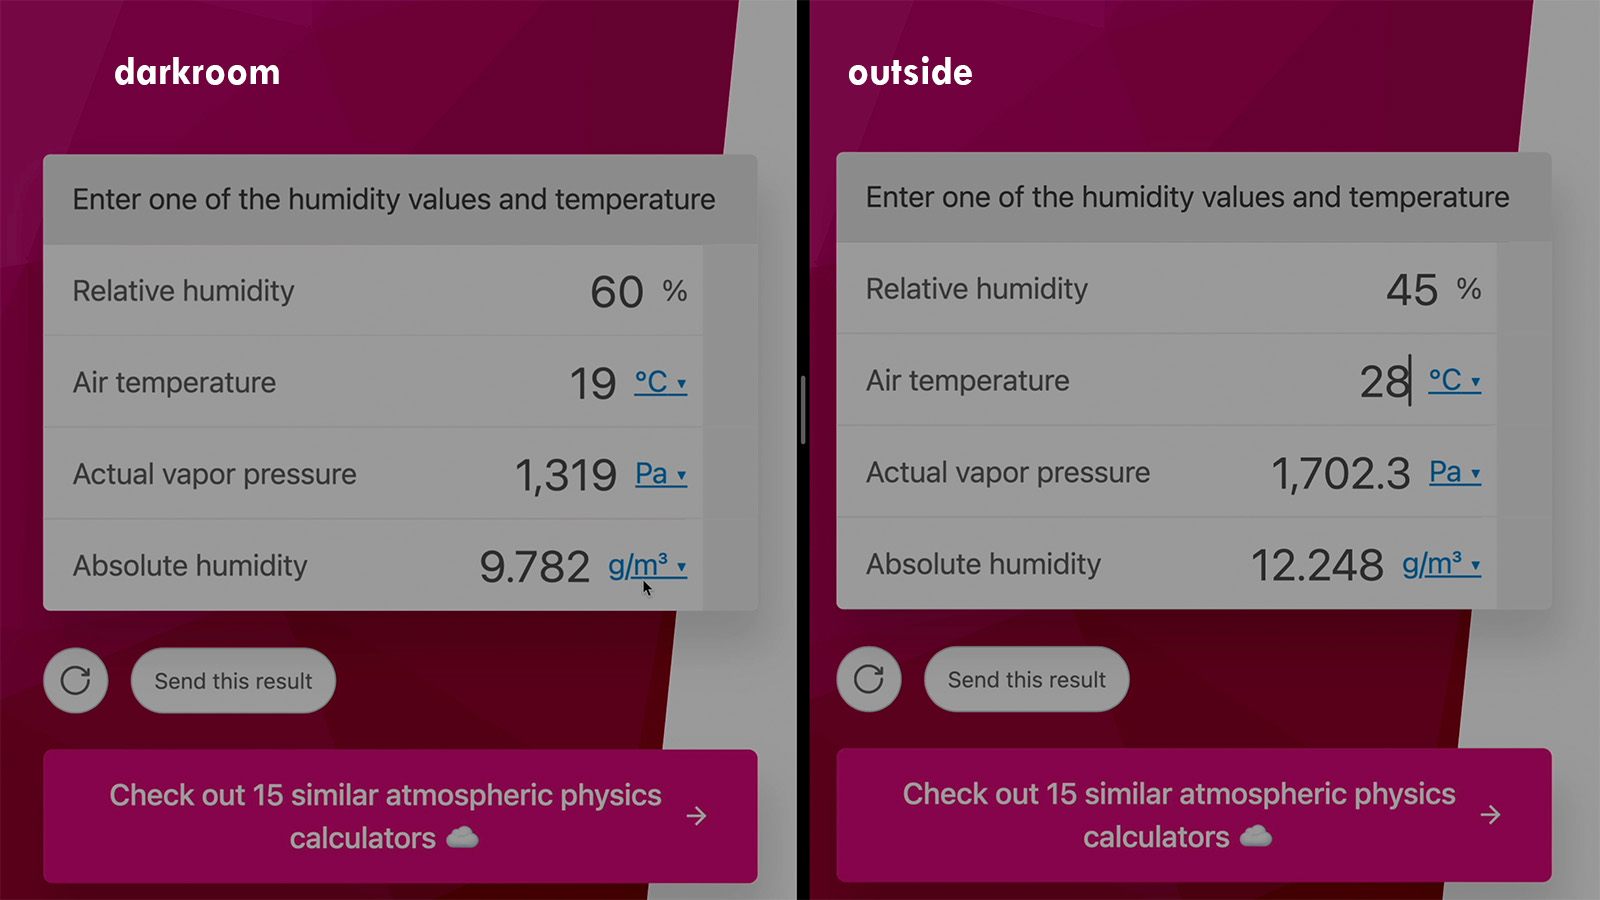
But when is it save to ventilate? I learned a lot and thought I just check the humidity outside and inside. And if the relative humidity is lower outside, I thought its save to ventilate. But I was totally wrong, you have to calculate the absolute humidity with a calculator like that. https://www.omnicalculator.com/physics/absolute-humidity

The absolute humidity is measured in g/m3 and it changes with the air temperature. Here are two examples:

lets assume it’s winter and it has 8 degrees outside with 70% relative humidity for some funny reason. Even your relative humidity is lower than the outside, its save to ventilate if you want to get the humidity down.
Now the relative humidity outside is much lower than inside, but the absolute humidity is because of the temperature much higher. If you want to reduce humidity in your room, that it would be the wrong time to ventilate. I am working with a friend of mine on a script that compares the absolute humidity from inside and outside and when it’s save to ventilate you can start an automation or get a notification. I will upload it here.
It was lots of work (See also my other darkroom article https://blog.markus-hofstaetter.at/2023/12/my-new-easy-to-use-darkroom/ ) but now I am super happy with the solution. With the whole new darkroom finished I am like a little kit when I start to work there.

I hope this was helpful for you guys as well.
If you want to support me, you can do that on my Patreon page here: http://patreon.mhaustria.com

  • Get yourself a beautiful print here: http://prints.mhaustria.com

  • Find all the tools I use here : http://list.mhaustria.com

  • Looking for wet plate gear? http://gear.mhaustria.com

  • Buy me a tea: https://www.buymeacoffee.com/mhaustria

  • Patreon: https://www.patreon.com/mhaustria

  • Get cool analog shirts here http://shirts.mhaustria.com
  • analog, collodion, darkroom, diy, dyi photography, tintype, wetplate Tags:analog photography, collodion, darkroom, diy, large format, maico powerbox 75 h, nassplatte, renovation, tintype, wet plate

    Post navigation

    Previous Post: My new easy to use Darkroom
    Next Post: spring dreaming – a tintype story

    Related Posts

    Wet Plate Experiment analog
    Rock Band Wetplate – shooting “The Black Proteus” with 7500Watt of Strobepower ambrotype
    Ultra macro video of the collodion wet plate process ambrotype
    Nassplattenworkshop in Wien Teil II alumitype
    Family and Architecture Wet Plates on location alumitype
    Photo + Adventure 2019 alumitype

    Copyright © 2025 Markus Hofstätter's blog.

    Powered by PressBook Masonry Dark