Skip to content
YouTube
Facebook
Instagram
X
Linkedin
Flickr
Threads
TikTok
Markus Hofstätter's blog
Blog
Contact
Waterhouse Stops Database
Newsletter
About
Website
Patreon
My Life
©
Toggle search form
Search for:
Category:
photography
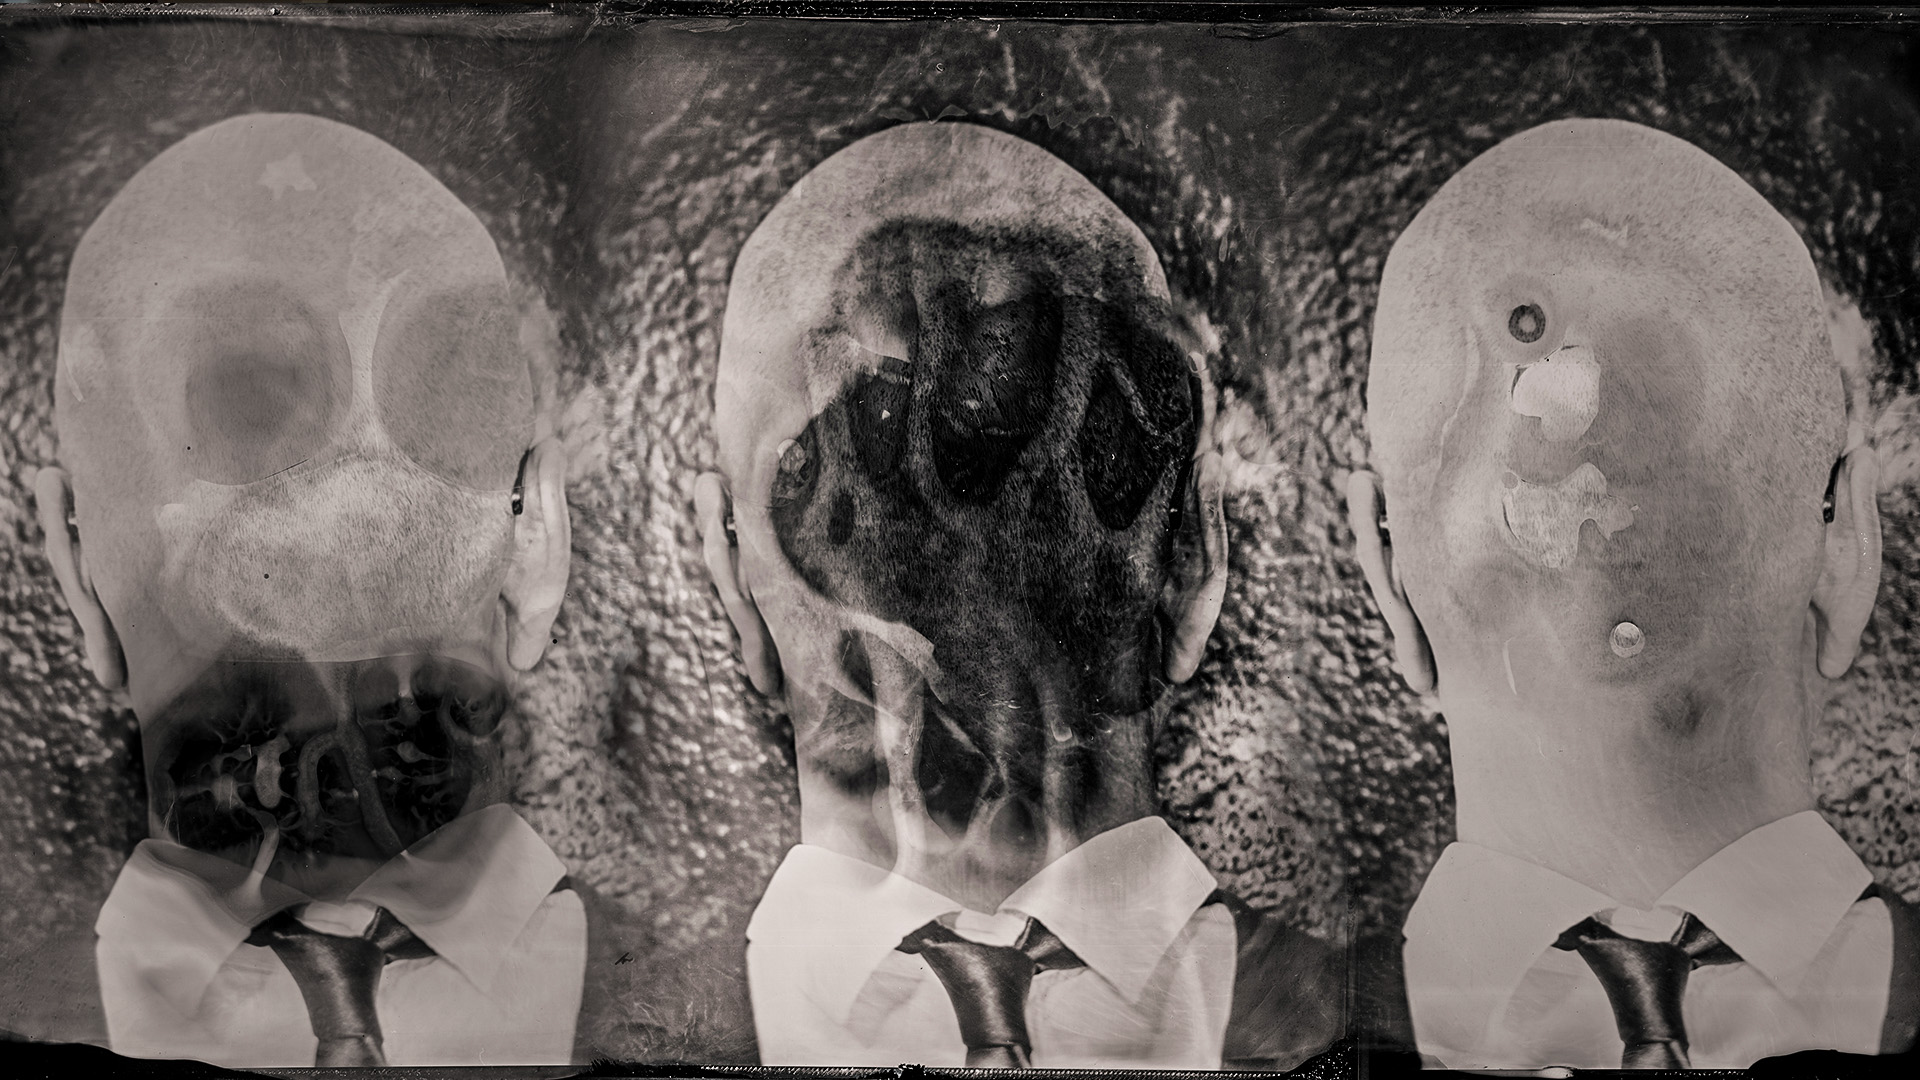
Boris Eldagsen – Analog AI – Inspired Series
alumitype
The Ghost – A Honda S2000 Story – a car for analog photographers?
analog
Daria’s 1851 Magic Part II – More Handmade Analog Portraits with disappearing Tattoos
analog
Leica M 3D Print Mount for Insta 360 Go (FPV Street Photography) Addition
3d print
Is Slovenia the new Capital of Large Format Cameras?
3d print
Inspired Series Prof. Dr. Werner Sobotka
alumitype
1800s Magic: Watch Daria Come to Life in a Handmade Tintype Portrait
alumitype
Love
alumitype
The 110 year old camera got it’s tripod connection – Renovation part II
3d print
Why Photographers Are Ditching the Viewfinder
photography
Posts pagination
1
2
…
21
Next