Skip to content
  • YouTube
  • Facebook
  • Instagram
  • X
  • Linkedin
  • Flickr
  • Threads
  • TikTok

Markus Hofstätter's blog

  • Blog
  • Contact
  • Waterhouse Stops Database
  • Newsletter
  • About
  • Website
  • Patreon
  • My Life
  • ©
  • Toggle search form

100-Year-Old Camera… REBORN!

Posted on June 10, 2025June 10, 2025 By Markus

It’s now more than 6 month since I bought my Kodak Eastman 2D camera. There happened a lot in that 6 month. This is clearly my most demanding and ambitious renovation project I have ever done.
I put in all the knowledge I gained over the past years to create this steampunked cyber beast. This is a total game changer for my work. You’ll find lots of high end modifications, from carbon fiber parts, to wood working and carbon fiber enforce 3d prints with hidden magnets and threaded inserts.
I feel grateful and proud every time I can capture a portrait with this camera. In combination with my Dallmeyer Petzval lenses it’s a dream come true. This time, I documented the entire journey in the most ambitious video project I’ve ever created. Watch the video , then keep scrolling for extra details and behind-the-scenes stories from this project.

Fun Facts
The Kodak Eastman 2D camera was firstly introduced in 1921 for about 70 U$.

Catalog digitized by Pacific Rim Camera

And about 90 years later one of the first publicly 3d printer was available:

Image:
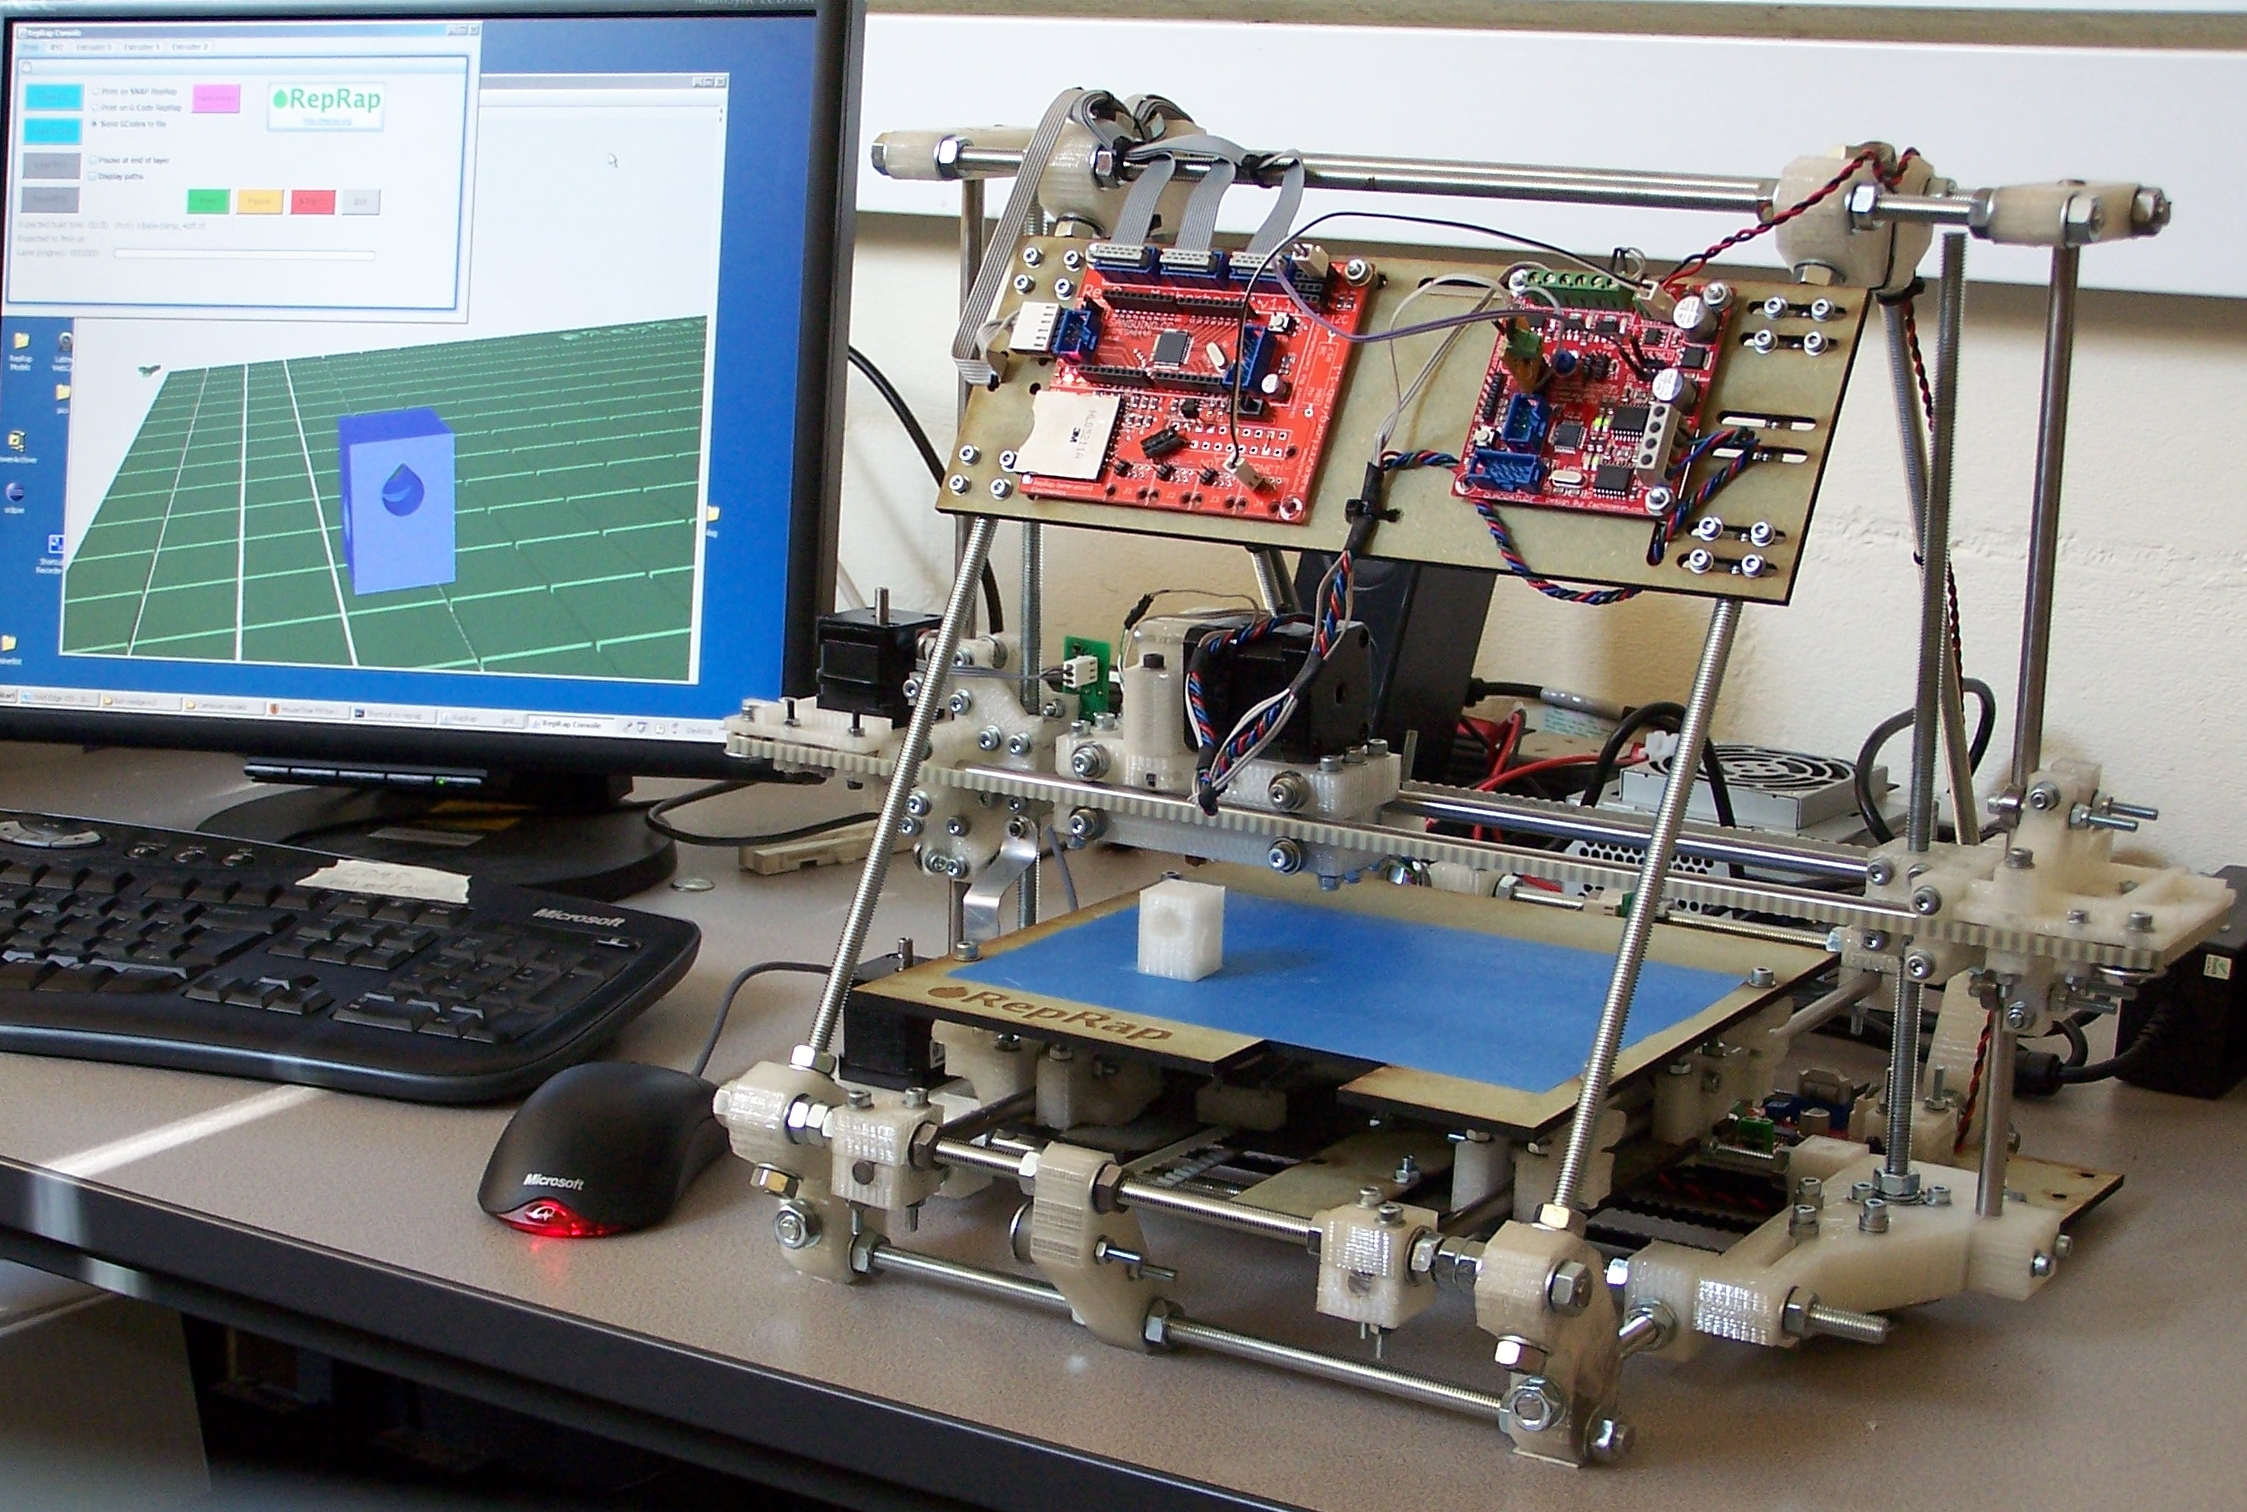
CharlesC / RepRap Project, Wikimedia Commons

And about a century after the camera was introduced, I combine both worlds together to create my dream come true.

My Kodak Eastman 2d Steampunked Cyber Beast

Buying the camera
I bought the camera on a fleamarked in Vienna, where I often have my own booth. By accident I even captured the moment I bought it. More about that here https://blog.markus-hofstaetter.at/2024/12/i-did-it-again-flea-market-find/ Now comes the fun part, do you remember my big scanner project ( https://blog.markus-hofstaetter.at/2022/04/bringing-a-73kg-high-end-scanner-back-to-life/ )? I bought the camera from the same guy. What are the chances?

never know what you find on a flea marked, I found my dream camera

The Bellow
Even the camera was in a great condition, I wanted to maintain the bellow. So I started to dissemble the camera and clean the bellow with lukewarm warm water. After that I used some leather balm to maintain it. I explain the whole process in my video. It took much longer than I thought it would. I think this sentence is one of the most used in my projects, thats why I made a shirt for it 🙂

In Austria this is called Lederfett, that translates to leather grease, but I think because of the consistency
Here you can see that its kind of creamy….

The Camera Back
You will see that I build lots of parts by myself, but I knew that in Slovenia there are some guys specialized for this kind of parts, so I decided to drive to Zebra Headquarters and to Peter of Premier Cameras to create one of the best Large Format Camera Backs I have ever seen.

This is the original full plate sized camera back / ground glass. It’s nice to have, but I shoo mainly 18x24cm wet plates that are very similar to 8×10
Thats why these guys build one of the most beautiful and technical perfect 8×10 backs I have ever used. Check the video to see and hear the comparison to the original back
I love also the carbon fiber protection of the Fresnel lens. Thats when the steampunked cyber beast vibe came over me for the first time. Before that I thought I paint the black parts in the same brown tone like the rest of the camera. But I decided to embrace it
I love the brightness of the ground glass. It’s a real dream to work with.
I love also the wonderful contrast of the ground glass. You also find the complete bhts of my portrait session with the wonderful Anna Isabell.

I also got myself some new plate/film holders that ar much easier to clean and use. See all the details in my video.

These plate holders from Zebra are one of the best ones out there (all you see here on my blog is bought by myself, I am not sponsored to say anything good about anything here, I only show you guys what I love to work with)

Camera Support
Because normally the camera would only have a single point of connection to the tripod, I always create a camera support system that holds the camera more secure and makes it last forever.

I glued two 3/8 inch threaded inserts with two component epoxy into the wooden board that supports the camera. I like to use that glue, because it’s a final solution for me.
On the front of the board I glued a metal sheet that will hold some of my cyber accessories later. It’s also essential for the lens support system.
As written before, I want to embrace the steampunked cyber beast look, so I painted dit black.
The black board matches perfectly the look of my 100 year old camera

Lens Board Adapter
I already have a very similar camera the Century No. 2. Maybe now it sounds a bit confusing why I would get a second 8×10 camera. But when you watch the video to the end or read this article to the end, it will totally make sense. And it totally also makes sense that I have both cameras.
Because the lens boards of the Century camera look similar, I hoped they will fit also on the Kodak 2D camera. But of course that was not the case. So, you guessed it, It took much longer as I thought it would.

Not my lucky day, the lens boards from my Century camera ar way smaller compared to the boards of the Kodak 2d camera
Thats why I designed a new adapter in Tinkercad. Here you see the final design, I did many designs before that and also 3d printed many many prototypes until I had a working one. And even after that I had to go back and start from scratch. Watch the video to see more details about my fails.
I even changed 3d printers in-between and printed my final design with carbon fiber enforced petg on my Bambu Lab X1c.
I got myself some tools from CNC Kitchen to melt threaded inserts into my prints. Somebody suggested it in the comments in another video, and it was a great decision to get the adapters for them.
I love the look of the final adapter. It is super stable and matches the steampunk vibe.
I also wanted to adapt the lenses from my beautiful Linhof Master Technika camera to the Kodak 2d.
So I redesigned my Century to Linhof adapter to make it fit on the Kodak Eastman camera. There are also two versions I worked on. The first one had a light leak. Before I even could test it, I got a comment about it on one of my videos. So I redesigned it and build a more solid one.
The more I printed with this carbon fiber enforced filament, the more I loved the look. It’s love the outcome of this Kodak 2D to Linhof adapter. The brass thumb screws in combination with the Matt black parts and the color of the camera just looks beautiful for me.
But there is more, what about new lenses or lenses that I just want to test. There is a solution for that, a universal iris lens clamp. I love this mechanism. But of course it did not fit on my camera. So another thing that took much longer than I thought it would. But at the end it turned out great.
Here a example where it holds a small lens
It also was able to hold my 300mm Zeiss Tessar lens. Another tool that will make my life easier. Maybe I will print some day a black board for it, so it matches the rest of the gang.

Modern Lens Support System
Heavy lenses need some kind of support. My old support system was a solution with strings and a wooden construction. I build one here: https://blog.markus-hofstaetter.at/2019/07/how-i-got-a-black-eye-and-diy-with-collodion-process-part-ii/
But this time I decided to go for something new.

As always my first design started in Tinkercad. You can see that I build some kind of holes in there.
these holes are for magnets that I put into my prints. For that I stop the 3d printer in-between, but the magnets in and let the 3d printer print over it afterwards
Thats the finished look of the lens support, Please have look at my video to see how it moves and snaps in place.
Basically the tray underneath has also magnets in it. These magnets snap onto the metal sheet on the camera support board. These magnets have the same distance like the magnets of the lens support system. That results in a very satisfying click when I put everything together. I also like the red accents on the thumb screws of the lens support system. It all fits together nicely.
Here is my next steampunk add-on. A phone/camera/mirror holder. With that people can see them selfs when adjusting for their portrait. This is not a whole new design, but I redesigned it to fit my needs. Maybe I will redesign it again to include a MagSafe add-on.
Here is an example how people can see them selfs in from of the camera. It’s also very useful to capture my bhts videos. Lie the one you see in the video above.

So why is the Kodak Eastman 2D camera so much better than the Century No.2 ?
First of all it’s build much more stable than the Century camera. Because of that it can hold heavier lenses much better. But that snot the only thing.

It has also a sing movement for the lens. With that I can create very shallow depth of field portraits. Like this one of Daria
Bhts video of this portrait will come soon.
But also because the Kodak Eastman 2D camera is very stable, I can now much easier nail the focus. Like on this example of Emily – This will be one of the next Videos I will publish “Emily, Portraits of Hope”
And this is why The Century No.2 and the Kodak Eastman 2d is such a great combination for me. The Century is lighter and is all the time mounted on my Linho tripod. With that I just can grab my second 8×10 camera and shoot outside, while the other one is mounted on my studio stand. This make say life some much easier and saves lots of time!!!
A last fun fact at the end. Did you know that these cameras where the first mirrorless cameras before digital became cool? If you like this shirt, have a look here: Shirts – And there are much more variations here: https://mhaustria.creator-spring.com
I like to capture wet plate portraits of strong women. And here is another one of the wonderful Anna Isabell.
You find the whole BHTS in the video. The process of creating tintype and ambrotype portraits is exactly what I had been searching for all these years. With this, I’ve truly found my place.
A truly handcrafted portrait that captures both strength and power. Many thanks to Anna Isabell for collaborating with me on this project.
3d print, analog, Dallmeyer, darkroom, diy, dyi photography, headshots, Hensel, nassplatte, tintype, wetplate Tags:3d print, analog, art project, cyber beast, diy, diy camera project, handmade camera, Kodak 2d, large format photography, portrait, portrait photography, tintype, wet plate

Post navigation

Previous Post: Back to my Roots – Where Everything Started
Next Post: Emily Portraits of Hope

Related Posts

1800s Magic: Watch Daria Come to Life in a Handmade Tintype Portrait alumitype
U-Bahn-Stars Westbahnhof und Da Weana action
My Wet Plate on the Cover of an International Magazine alumitype
Inspired Series – Hans Gerlach – Christian Jungwirth – Wolfgang Mlakar alumitype
Mobile Darkroom: Advanced Eskimo Quickfish 3 modification collodion
Youtubelink von der Fernsehaufzeichnung ambrotype

Copyright © 2025 Markus Hofstätter's blog.

Powered by PressBook Masonry Dark